How to install eSIM Android on Samsung, Pixel and Xiaomi
Step-by-step Android eSIM setup for Samsung One UI, Google Pixel and Xiaomi HyperOS, with iOS 17/18 fallback steps for travellers.
Updated Oct 27, 20268 min read6 views
In this guide
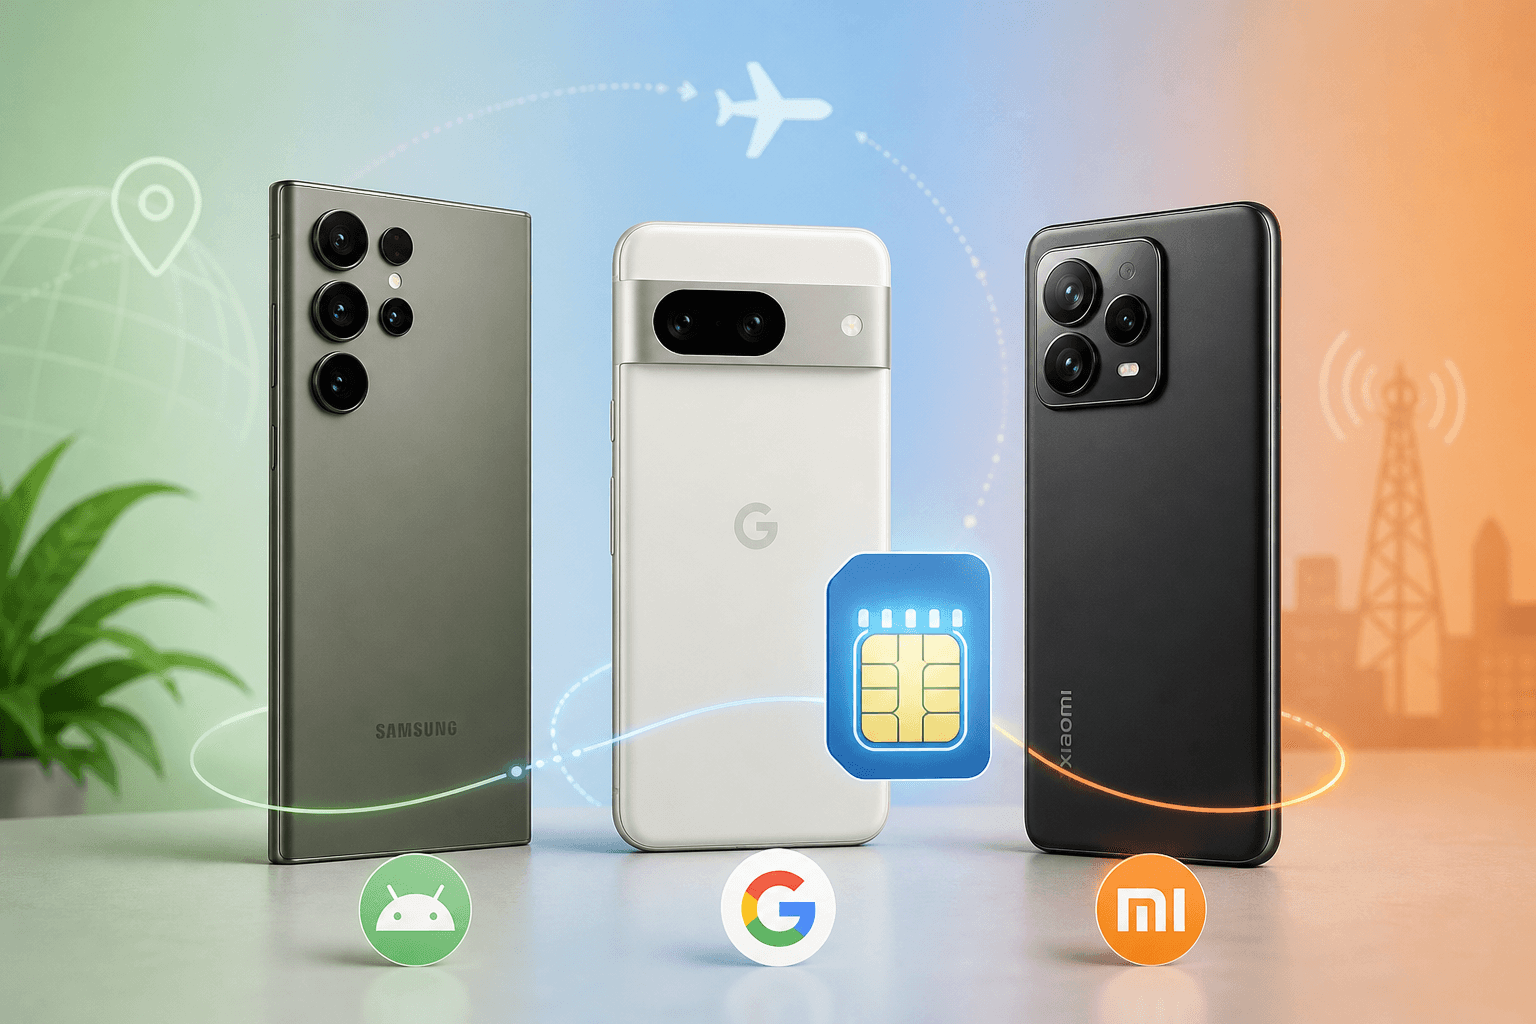
To install eSIM Android before a trip, add the eSIM from your phone’s SIM settings, scan the QR code, keep the travel line off until departure, then turn it on at the destination and enable data roaming on that eSIM line. On Samsung use Settings > Connections > SIM manager > Add eSIM; on Pixel use Settings > Network & internet > SIMs > Add eSIM; on Xiaomi HyperOS use Settings > Mobile networks > Add eSIM.
A travel eSIM is usually a roaming data profile, so data roaming must be on for the travel line. BeeSim plans are data-only: no local phone number and no SMS. The QR code appears after purchase in the account/app and by email, and the plan validity starts at the first connection in the destination, not when you install it at home.
Which Android setup path should you use?
The menu name depends on the phone maker, not only on Android. Use the path for your phone, then scan the QR code from another screen or printed copy. If you are buying shortly before a flight, install while you still have stable Wi‑Fi.
| Phone or system | Version covered | Where to add the eSIM | What to leave off before departure | What to turn on after arrival |
|---|---|---|---|---|
| Samsung One UI | Android 14/15 | Settings > Connections > SIM manager > Add eSIM | Travel eSIM line | Travel eSIM line, Mobile data on that line, Data roaming |
| Google Pixel | Android 14/15 | Settings > Network & internet > SIMs > Add eSIM | Travel eSIM line | Travel eSIM line, Mobile data on that line, Data roaming |
| Xiaomi HyperOS | Android 14/15 | Settings > Mobile networks > Add eSIM | Travel eSIM line | Travel eSIM line, Mobile data on that line, Data roaming |
| iPhone | iOS 17/18 | Settings > Cellular or Mobile Data > Add eSIM > Use QR Code | Travel eSIM line | Travel eSIM line, Mobile Data on that line, Data Roaming |
Before you scan, keep the QR code visible somewhere other than the phone you are installing on. If the QR is in your email on the same phone, open it on a laptop, tablet or another phone. You can also use manual SM-DP+ entry where your phone offers it.
How do you install a travel eSIM on Samsung One UI?
On Samsung, the travel eSIM is added inside SIM manager.
- Connect the phone to Wi‑Fi.
- Open Settings > Connections > SIM manager.
- Tap Add eSIM.
- Choose the QR code option when prompted.
- Scan the travel eSIM QR code.
- Follow the confirmation prompts until the eSIM is added.
- Give the line a clear label such as Travel if the phone offers a label screen.
- Keep the travel eSIM switched off before departure.
Do not delete the eSIM if it appears installed but inactive. A deleted profile usually cannot be reinstalled from the same QR code. If the line is present in SIM manager, leave it there and continue the setup on arrival.
When you land:
- Open Settings > Connections > SIM manager.
- Turn on the Travel eSIM.
- Set Mobile data to the Travel eSIM.
- Open the Travel eSIM settings and enable Data roaming.
- Keep your home SIM available for calls and SMS if you need it, but keep mobile data on the home line switched off.
If the travel line connects but data does not work, wait for the phone to register on a local network, then toggle mobile data off and on. Do not change the APN unless support tells you to; for BeeSim, APN is set automatically.
How do you install a travel eSIM on Google Pixel?
On Pixel, the eSIM setup starts from Network & internet.
- Connect to Wi‑Fi.
- Open Settings > Network & internet > SIMs.
- Tap Add eSIM.
- Scan the QR code.
- Confirm the download when Android asks.
- Label the line Travel if the label option appears.
- Keep the eSIM off until you arrive in the destination.
On arrival, make the travel profile the data line:
- Open Settings > Network & internet > SIMs.
- Select the Travel eSIM.
- Turn the eSIM on.
- Set it as the SIM for mobile data.
- Enable Data roaming for that eSIM.
Pixel may ask which SIM should handle calls, SMS or data. Choose your home line for calls and SMS if you still need your normal number. Choose the travel eSIM for mobile data. BeeSim travel eSIMs do not include voice or SMS, so selecting that line for calls or texts will not give you a local phone number.
How do you install a travel eSIM on Xiaomi HyperOS?
On Xiaomi HyperOS, start from Mobile networks.
- Connect the phone to Wi‑Fi.
- Open Settings > Mobile networks.
- Tap Add eSIM.
- Scan the QR code.
- Accept the prompts until the eSIM profile appears.
- Label it Travel if HyperOS offers a label field.
- Leave the travel eSIM off before departure.
At the destination:
- Open Settings > Mobile networks.
- Turn on the Travel eSIM.
- Choose the Travel eSIM for mobile data.
- Enable Data roaming on that same eSIM.
- Leave your home SIM’s mobile data off if you want to avoid using your domestic plan abroad.
If you use a Xiaomi model or regional software build where the eSIM option is not shown, do not assume the QR code is faulty. Check whether that exact device supports eSIM, then contact support from the site if the plan is already purchased.
How do you install the same travel eSIM on iOS 17/18?
If you also carry an iPhone, or you are helping someone travelling with you, the iOS path is different.
- Connect the iPhone to Wi‑Fi.
- Open Settings > Cellular or Mobile Data.
- Tap Add eSIM.
- Tap Use QR Code.
- Scan the QR code.
- If scanning is not possible, tap Enter Details Manually and enter the SM-DP+ address and activation code.
- Label the new line Travel.
- Keep the Travel line off before departure.
On arrival, open Settings > Cellular or Mobile Data, turn on the Travel line, set it as the line for Mobile Data, and enable Data Roaming on that line. Keep your home line for calls and SMS if needed, with its data switched off.
When should you install it before flying?
Install the eSIM while you still have reliable Wi‑Fi, ideally before you go to the airport. For BeeSim, validity starts at the first connection in the destination, so installing at home is not the same as starting the plan.
The practical rule is simple: install first, activate data later. Before departure, the travel eSIM can sit on the phone as an inactive profile. After arrival, turn the line on, select it for mobile data and switch on data roaming.
If you still need to compare data allowances and duration, use the live destination page in the store. The live plan list and current prices are kept there; do not rely on a saved screenshot if your trip changed.
What can go wrong when you install eSIM Android?
Most setup problems are caused by scanning the QR on the same phone, using the wrong data line after arrival, or turning roaming off. Fix the visible issue first; do not delete the eSIM as a troubleshooting shortcut.
| Problem | Likely cause | What to do |
|---|---|---|
| The phone cannot scan the QR | The QR is open on the same phone, the screen is dim, or the camera cannot read it | Open the QR on another device or print it. If your phone offers manual entry, use the SM-DP+ details and activation code. |
| The eSIM is installed but there is no data | The travel line is off, not selected for mobile data, or roaming is off | Turn on the Travel eSIM, set it for mobile data, then enable Data roaming on that line. |
| Calls or SMS do not work on the travel line | The travel eSIM is data-only | Use your home line for calls and SMS, or use an internet calling app over mobile data. |
| The APN screen looks editable | APN is normally set automatically | Leave APN unchanged unless support gives you a manual APN. |
| The eSIM was deleted | The same QR usually cannot reinstall the profile | Stop trying the same QR repeatedly and contact support from the site before taking more steps. |
| Hotspot is needed | Tethering depends on the plan | Check the plan page before relying on hotspot for another device. |
If your payment or refund question is blocking the setup, use the BeeSim FAQ. For installation problems, include your phone model, Android version and a screenshot of the SIM settings when you contact support from the site.
What should you check before relying on the travel eSIM?
Check these items before boarding, while Wi‑Fi is still easy to get:
- The eSIM profile appears in the phone’s SIM settings.
- The line is labelled Travel or another name you recognise.
- The travel line is off before departure.
- You know where to set Mobile data after arrival.
- You know where Data roaming is for that eSIM line.
- The QR code and manual installation details are saved somewhere you can access without mobile data.
Do not test the travel eSIM by forcing it to connect in the wrong country. If the plan is for a destination or regional bundle, let it make its first connection where it is meant to be used.
How should dual SIM be set for travel?
Use the travel eSIM for mobile data and keep the home SIM for calls and SMS if you need your normal number. That avoids sending mobile data over the home plan while keeping bank messages, airline updates or family calls on your usual line.
On Android, the exact wording varies, but the target setting is the same: default SIM for mobile data should be Travel. Calls and SMS can stay on the home line because the travel eSIM does not provide a local number.
If you do not need the home line abroad, you can switch its mobile data off and leave only the travel eSIM handling data. If you are unsure whether the plan supports hotspot, check the plan page before using the phone as a router for a laptop or another traveller.
What should you do after landing?
Open your SIM settings before leaving the airport Wi‑Fi area. Turn on the Travel eSIM, set it as the mobile data line, enable Data roaming on that same line, then open a browser or maps app to confirm data is working.
More destinations
All destinations →Topics
Frequently asked questions
Can I install the eSIM without being in the destination country?
Yes. You can install it at home over Wi‑Fi and keep the line off. For BeeSim, validity starts when the eSIM first connects in the destination.
Do I need to remove my physical SIM before installing a travel eSIM?
No. Keep your home SIM in place if you want calls and SMS on your usual number. Just make sure mobile data is assigned to the travel eSIM after arrival.
Can I forward SMS to the travel eSIM number?
No. A BeeSim travel eSIM is data-only and does not include a local phone number or SMS inbox. Use your home line or an internet-based messaging service.
What if my Android phone asks for an activation code instead of scanning the QR?
Use the manual installation details from your eSIM order if your phone offers manual entry. If the screen asks for a field you do not recognise, stop and contact support rather than guessing.
Can I move the same eSIM QR code to another phone?
Do not assume you can. A deleted or already-used eSIM profile usually cannot be installed again from the same QR, so contact support before deleting it or changing phones.
BeeSim Editorial
Travel eSIM guides from the BeeSim team: activation, coverage caveats, and the mistakes that strand travellers.
Editorial policyRelated articles
- eSIM setup
How to check if your phone is carrier-unlocked before buying a travel eSIM
Check eSIM hardware with *#06# and carrier lock in settings before you buy. iPhone and Android paths differ, especially Samsung, Pixel and Xiaomi.
Oct 9, 20269 min read1 views
- multi-country travel
eSIM for multiple countries: regional or country plans?
Regional eSIMs suit border-hopping trips; country plans suit longer single-country stays. Use route, days and data use to choose before you install.
Oct 5, 20269 min read5 views
- Italy eSIM
eSIM for Italy in 2026: plans and prices for Rome, Milan, the coast and the Alps (and how the Europe bundle compares)
Italy eSIM plan sizes, validity rules and coverage expectations for 2026, including Rome, Milan, the coast, the Alps and when a Europe regional plan makes more sense.
Sep 30, 202612 min read1 views
- Android eSIM
How to Install a Travel eSIM on Android: Samsung Galaxy and Google Pixel
Step-by-step setup for travel eSIMs on Samsung Galaxy and Google Pixel, including QR vs manual install, data SIM settings, roaming, and fixes if Add eSIM is missing.
Sep 29, 20269 min read3 views